Leave Your Message

10 Tips for Buying Car Alignment and Balance Equipment

Buying Car Alignment and Balance Equipment is a decision about accuracy, workflow, and long-term service costs. A machine may look impressive under showroom lights, but the real test comes when a technician positions a vehicle, clamps the targets, and checks readings under everyday shop conditions. The right system should suit your floor space, vehicle mix, staff experience, and expected workload. Small details matter.

For this introduction, the expert voice is Alex Morgan, a fictional composite representing experienced automotive service-equipment specialists. His guiding line is: “Buy for repeatable measurements, not the biggest feature list.” Treat that as an editorial principle, not a verified quotation from a real person. It points to practical questions: Does the alignment system offer clear, reliable measurements? Can technicians learn its controls without slowing the shop? Does the balancer handle the wheel sizes you actually service? What support, calibration guidance, and replacement parts are available?

The following 10 tips will help you compare Car Alignment And Balance equipment with greater care. Look beyond the purchase price. Check software updates, warranty coverage, installation needs, and compatibility with your existing lifts and service routines. Ask for a live demonstration using a vehicle similar to those in your shop. Watch how long setup takes, how clearly the screen presents results, and how smoothly a technician can move between tasks. A neat demo is not the whole story. Real workloads can expose weak points, and no checklist replaces careful testing before purchase.
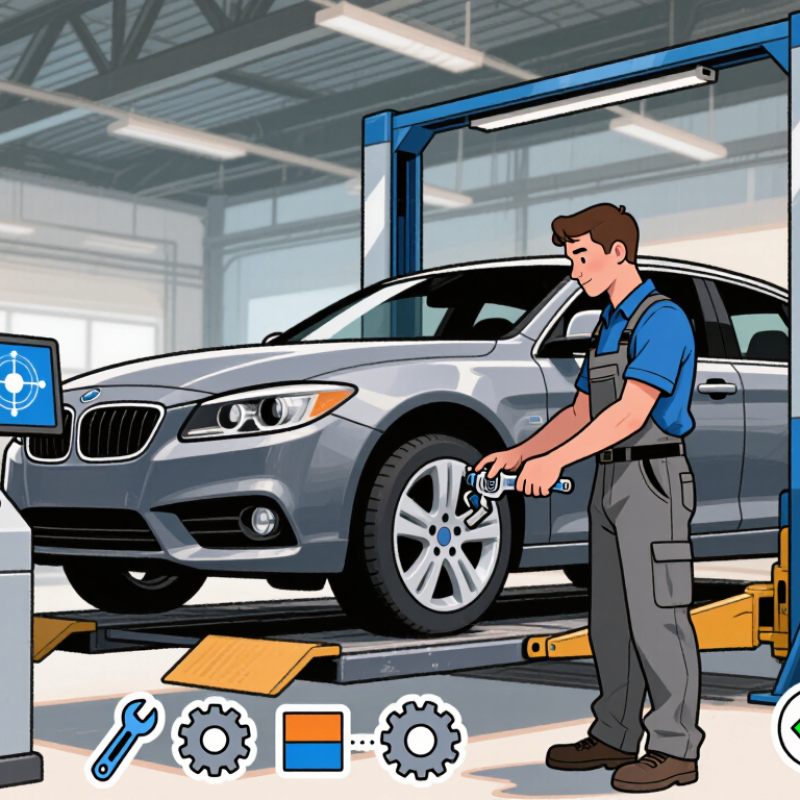
10 Tips for Buying Car Alignment and Balance Equipment

Identify the Vehicles and Services the Equipment Must Support

Before comparing machines, list the vehicles your shop actually sees: compact cars, crossovers, pickups, vans, and electric vehicles. S&P Global Mobility reported that the average U.S. light vehicle reached 12.6 years old in 2024. That matters. Older vehicles and newer models can require different adapters, specifications, and access clearances. Review recent work orders, not just the vehicles you hope to attract.

Argonne National Laboratory’s 2023 vehicle-sales tracking put plug-in vehicles at roughly 9% of new U.S. light-duty sales. If EVs are part of your service mix, check equipment capacity against their weight and wheel sizes. Also confirm that alignment software covers your customers’ model years and that a balancer accepts their common rim diameters and tire widths. Do not guess. Measure a few representative vehicles, including a heavy pickup and a low-clearance car.

Then define the services you plan to offer: basic alignment checks, full four-wheel adjustments, tire balancing, or diagnosis after suspension work. Ask suppliers for documented capacity ranges and a live demonstration using your own vehicle types. A specification sheet can look complete, yet overlook an awkward wheel adapter or a tight bay. I would still verify those details on site. It is easy to underestimate how often one unusual vehicle can slow a busy day.
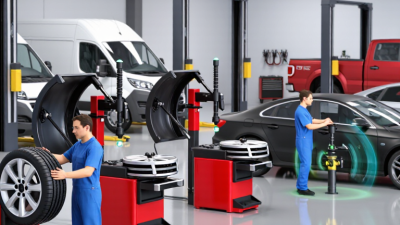
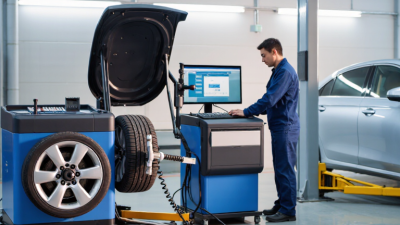
Compare Alignment Systems and Wheel Balancers

When comparing alignment systems, match the measurement method to your bay and daily workload. Some use cameras and targets; others rely on electronic sensor heads. Neither approach suits every shop. Check vehicle coverage, lift compatibility, target storage, and how easily readings are explained to technicians. A bright screen helps, but clear prompts and repeatable measurements matter more. Small details matter.

For wheel balancers, compare supported rim diameters, wheel weights, balancing modes, and available adaptors. A machine that accepts wide rims may still be awkward for heavy wheels or frequent service work. Check whether cones, flange plates, and protective accessories fit the wheel types you handle. Test repeatability with a known wheel, and ask how calibration is checked. Test it cold. Startup behavior can reveal things a polished demonstration will not.

Evaluate the two machines as one workflow. A useful comparison includes installation space, operator training, service response, and software or vehicle-data updates. Have a technician perform a typical job, from mounting a wheel to printing or saving results. Notice where they pause or recheck a reading. A fast cycle is not always a faster repair. I would reconsider any purchase based only on advertised precision; real performance depends on setup, maintenance, and consistent procedures.

Assess Accuracy, Calibration, and Ease of Use

Accuracy is the first test when comparing alignment and wheel-balancing equipment. Ask for documented measurement ranges, repeatability figures, and a demonstration using the same vehicle twice. A bright display is not proof of a reliable reading. NHTSA’s tire-safety guidance estimates that tire-related problems contribute to about 11,000 crashes annually in the United States. That matters. Good equipment cannot prevent every tire problem, but dependable measurements help technicians spot uneven wear and setup errors.

Calibration deserves more than a checkbox. Ask how often sensors, targets, turnplates, and balancing systems require checks, and whether calibration records are easy to retrieve. Look for clear procedures and traceable reference tools. Check it cold. A loose turnplate or dirty camera target can distort readings before a technician even begins. DOE’s fueleconomy.gov maintenance guidance says properly inflated tires can improve fuel economy by about 0.6% on average, with gains of up to 3%. That figure concerns tire pressure, not alignment; still, it shows how small service details can affect vehicle performance.

Ease of use matters during a busy day. Choose equipment with readable instructions, sensible prompts, and reports that explain out-of-range measurements. Ask a technician unfamiliar with the system to complete a sample job. Watch for confusing menus or extra steps. Software updates may help, but they can also change familiar workflows. A perfect-looking printout is not enough; staff should understand what the numbers mean and when to verify them.

Check Compatibility, Space, Training, and Technical Support

10 Tips for Buying Car Alignment and Balance Equipment

Before comparing alignment and wheel-balancing equipment, check the vehicles you service most. Confirm supported wheel diameters, vehicle weights, and alignment targets. Ask whether the system handles your existing lift and power supply. Small mismatches can mean costly adapters or installation changes. Check the details, not just the brochure.

Measure the bay with a tape. Allow room for turn plates, rolling jacks, and a vehicle with its doors open. A unit may fit on paper but leave little space to work safely. Consider ceiling height, cable routes, and where tools will be stored. Tight bays are easy to underestimate.

Training matters. Ask whether instruction covers setup, calibration, routine checks, and common measurement errors. A clear, hands-on session helps technicians spot a crooked target or incorrectly positioned wheel. Technical support matters just as much. Check response hours, remote troubleshooting options, and access to replacement parts. Ask what happens when equipment stops working during a busy day. It is easy to focus on purchase price and forget downtime. That part deserves a second look.

10 Tips for Buying Car Alignment and Balance Equipment - Check Compatibility, Space, Training, and Technical Support

# Buying tip What to check Before you buy
1 Match equipment to your vehicles Check the alignment system’s vehicle coverage, measurement range, and database update process. For a wheel balancer, confirm supported wheel diameter, width, and weight range. Compare the specifications with the cars, light trucks, wheel sizes, and service work you handle most often.
2 Check lift compatibility Alignment systems may require a compatible lift, turnplates, and rear slip plates. Confirm the equipment works with the lift’s design and usable runway dimensions. Ask the supplier to review your lift model, runway layout, and any required adapters or accessories.
3 Measure the available space Allow room for the lift, vehicle access, wheel positioning, equipment movement, and safe technician access. Required clearances vary by equipment and shop layout. Use the installation drawings to check bay length, width, ceiling height, and access routes before ordering.
4 Verify the floor and installation conditions Alignment readings depend on a properly installed, level setup. Balancers also need a stable mounting surface to reduce vibration and help maintain consistent results. Have the installer assess floor condition, lift installation requirements, anchoring, and any leveling needs.
5 Confirm power and connectivity Voltage, phase, outlet type, and network requirements differ by model. Some systems use software or online services for vehicle data and updates. Get the exact electrical and connectivity specifications and have a qualified electrician verify the site.
6 Compare measurement features Review measurement accuracy, repeatability, operating workflow, and the types of alignment angles or balancing modes supported. Features should fit the jobs you perform. Request a demonstration using a representative vehicle and wheel rather than comparing feature lists alone.
7 Ask about calibration and maintenance Sensors and measurement components may need routine checks or calibration according to the manufacturer’s instructions. Balancers also require clean, well-maintained mounting surfaces and accessories. Clarify recommended service intervals, calibration procedures, consumables, and the availability of replacement parts.
8 Plan for technician training Correct setup, wheel mounting, runout compensation, and measurement procedures affect service quality. Training options and the time required vary by system and staff experience. Confirm whether initial on-site or remote training is included and whether refresher materials are available.
9 Evaluate technical support Support can include troubleshooting, software assistance, installation help, and service referrals. Availability and response times depend on the supplier and service agreement. Ask how to reach support, what hours it operates, what is covered, and how service is handled in your area.
10 Calculate total ownership cost The purchase price may not include delivery, installation, training, software subscriptions, updates, accessories, or future service. Warranty terms and exclusions also differ. Request an itemized quote and review warranty coverage, renewal costs, service terms, and expected operating expenses.

Evaluate Total Cost, Warranty, and Long-Term Value

A low purchase price can hide expensive requirements. Before choosing alignment and balancing equipment, ask for a complete installation quote. Include delivery, floor preparation, electrical work, calibration, and staff training. Small costs add up. A machine that needs a reinforced floor or special power supply may cost more than expected. Compare the first-year expense, not just the number on the quote.

Read the warranty carefully. Check how long parts and labor are covered, who pays for shipping, and whether calibration visits are included. Ask how quickly a technician can respond when equipment stops working. A long warranty is less useful if key components are excluded or service takes weeks. Request the terms in writing, and note any required maintenance that could affect coverage.

Long-term value depends on daily use and repair access. Ask about routine service intervals, replacement-part availability, software fees, and expected equipment life. In a busy shop, even a few hours of downtime can disrupt appointments. That matters. I would also compare how easily staff can learn the controls; a feature-rich system may be underused if training is rushed. These estimates are not perfect, and real repair costs can surprise you, so leave room in the budget for the occasional failure.